Easy Vegan Italian Meatballs
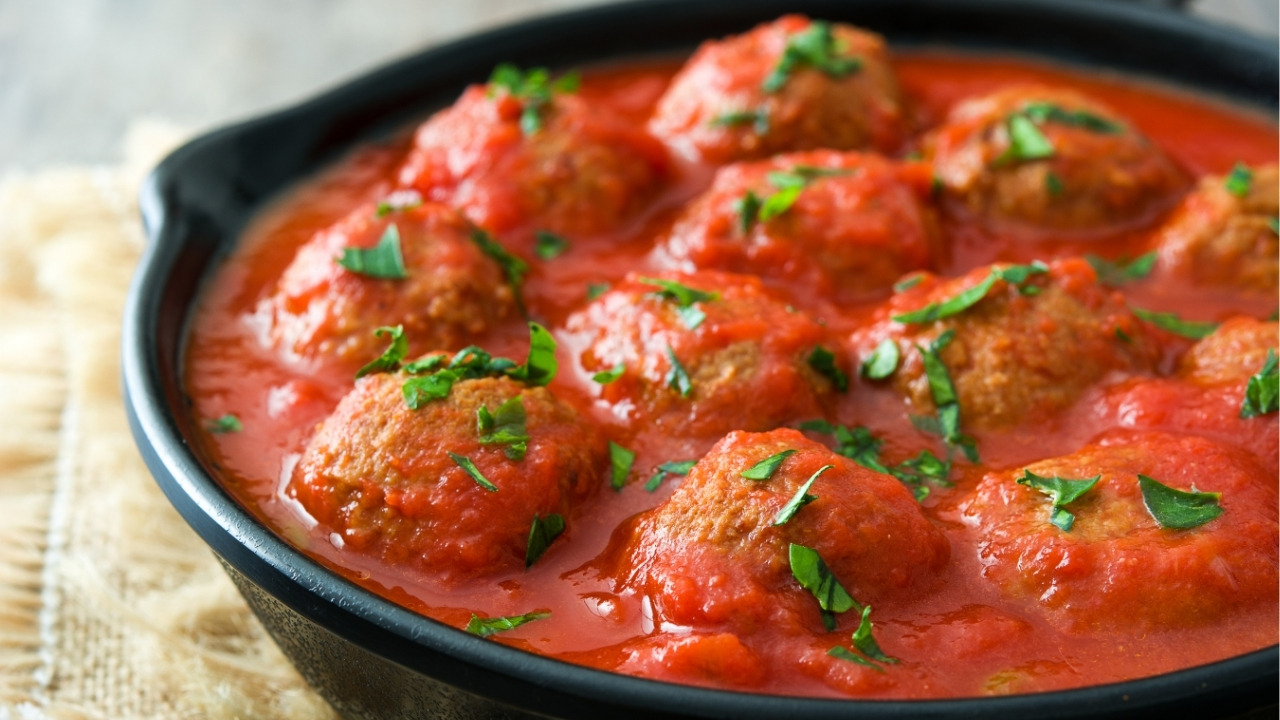
These Easy Vegan Italian Meatballs come together in under 30 minutes with a simple homemade sauce, store-bought meatballs, and melty vegan mozzarella. Serve them with pasta, in a hoagie, or alongside a fresh salad for a quick and comforting weeknight dinner. Table of Contents Easy, Quick & Delicious There’s something about a plate of saucy, […]
Easy Vegan Italian Meatballs Read More »